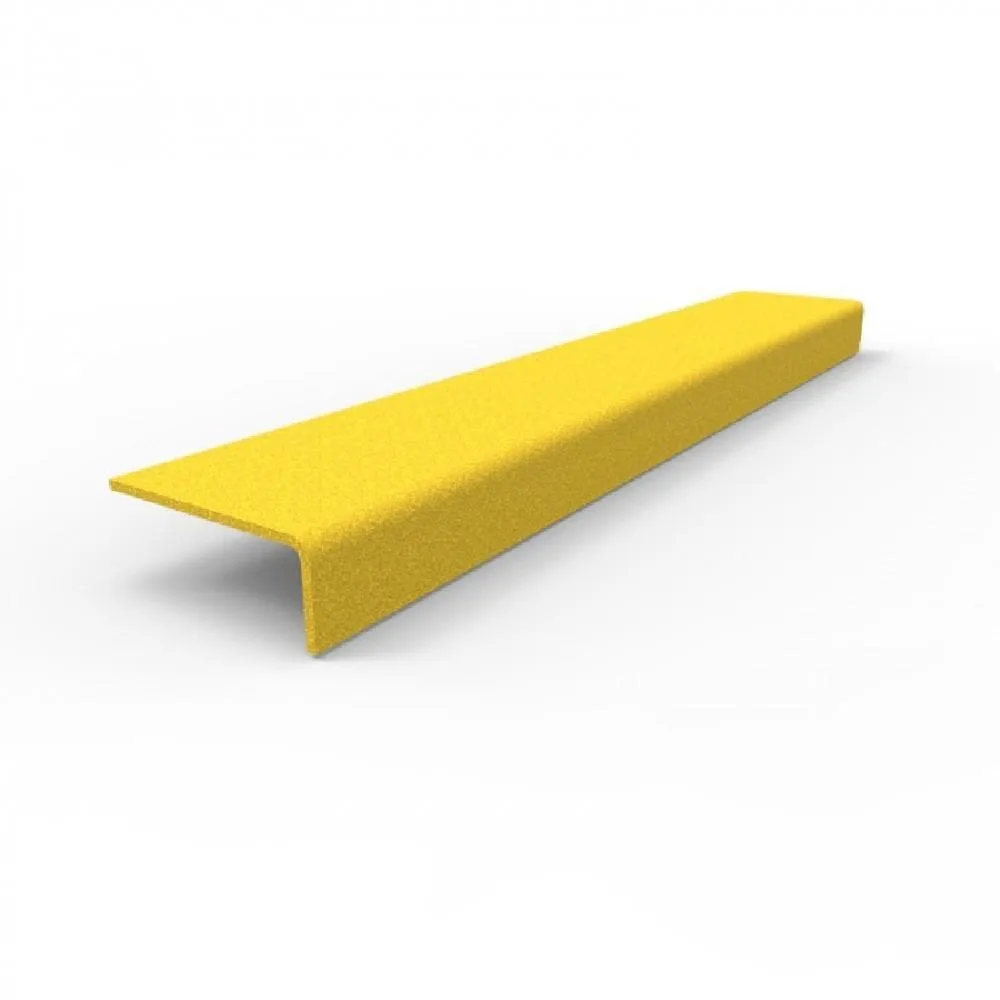

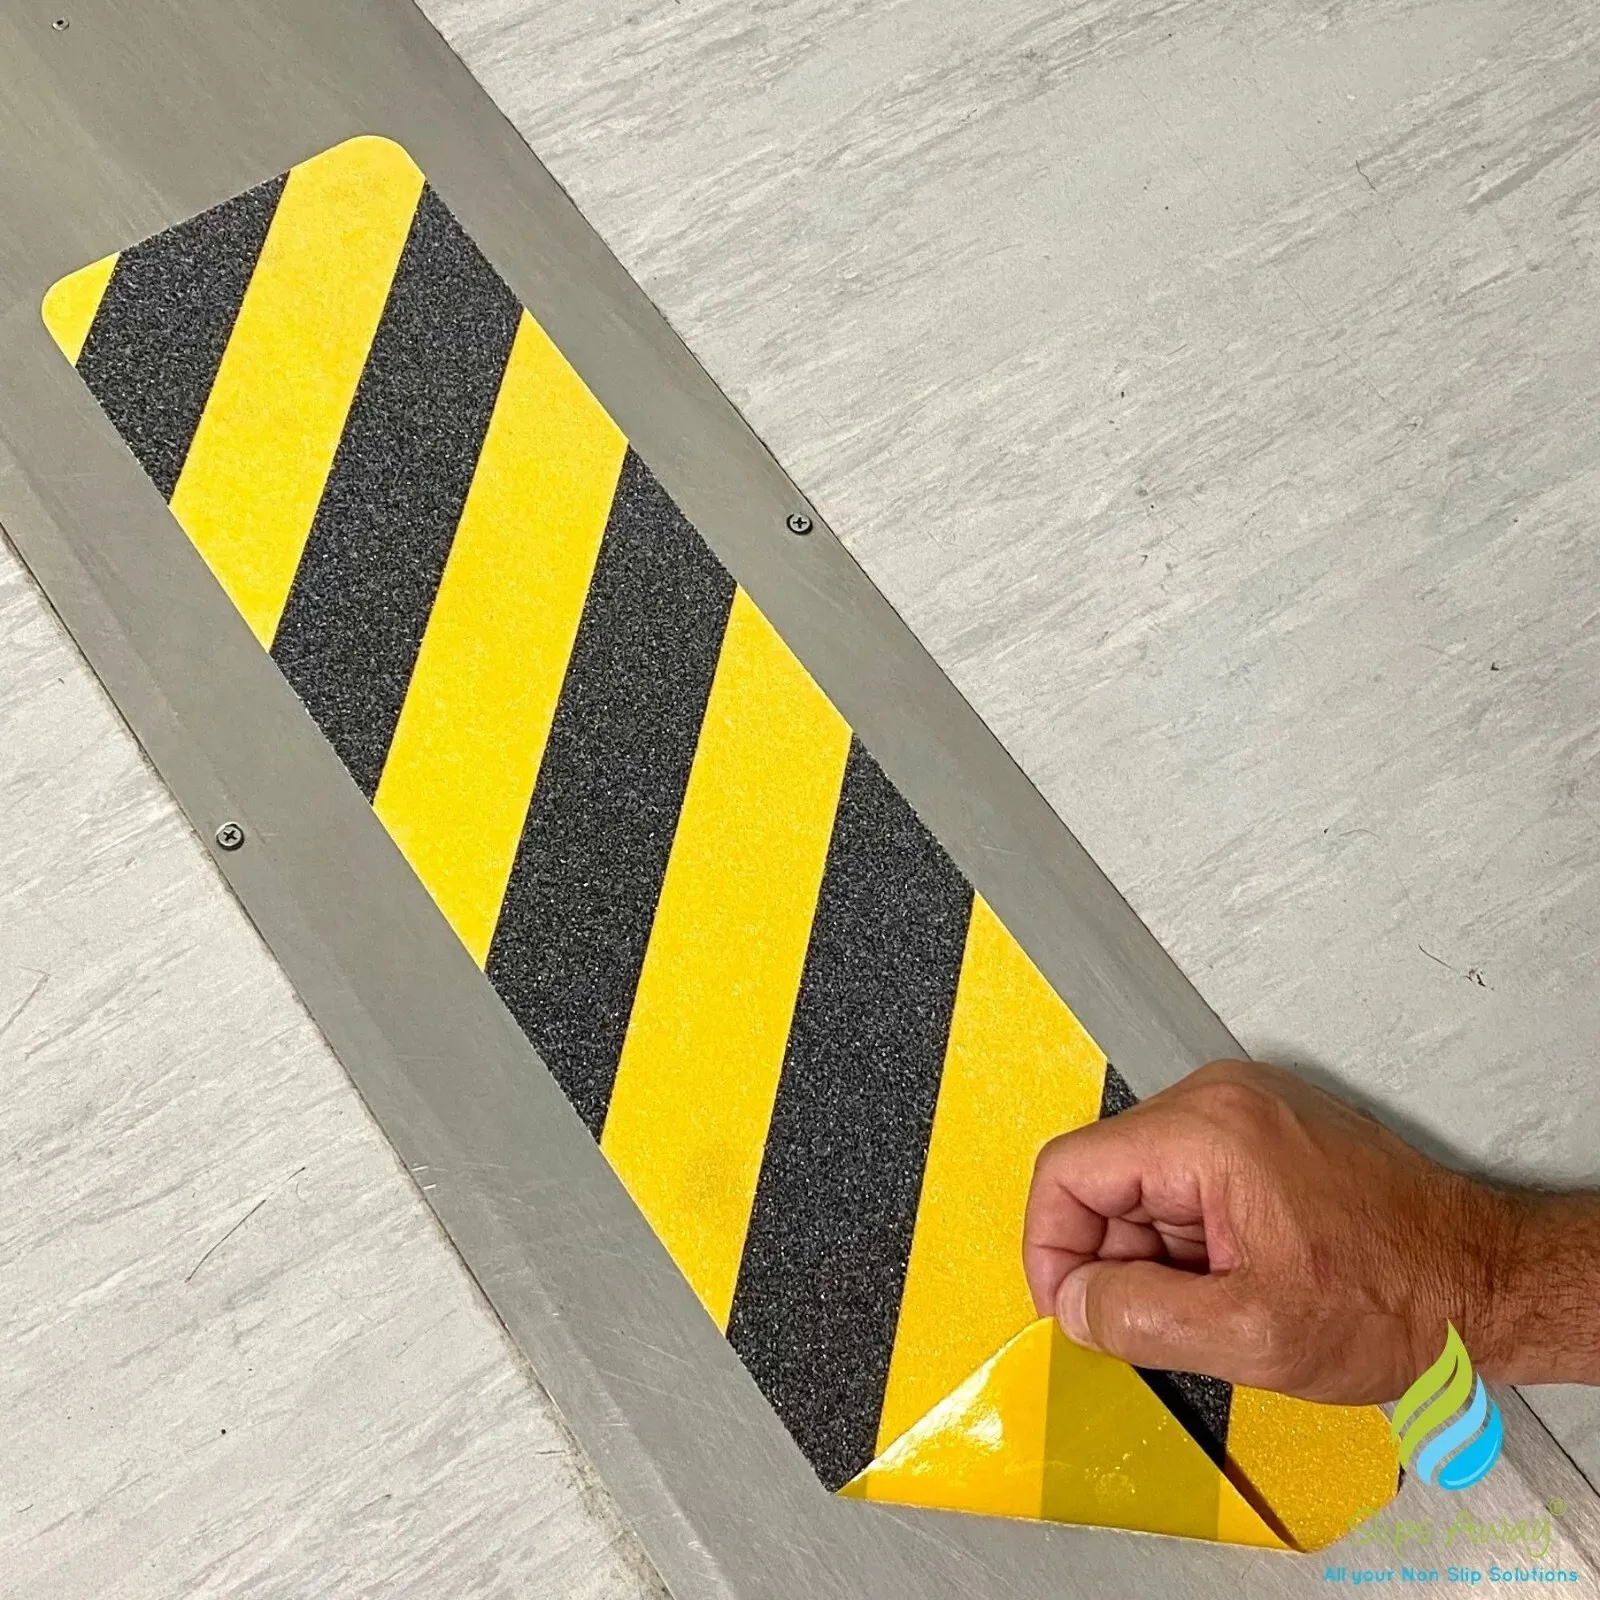
Why Every Staircase Needs Proper Stair Nosing
Stair nosing is an essential feature that significantly enhances both the safety and durability of your stairs. It’s not just about aesthetics; stair nosing serves multiple functional purposes that can protect users from accidents and extend the life of your staircase.
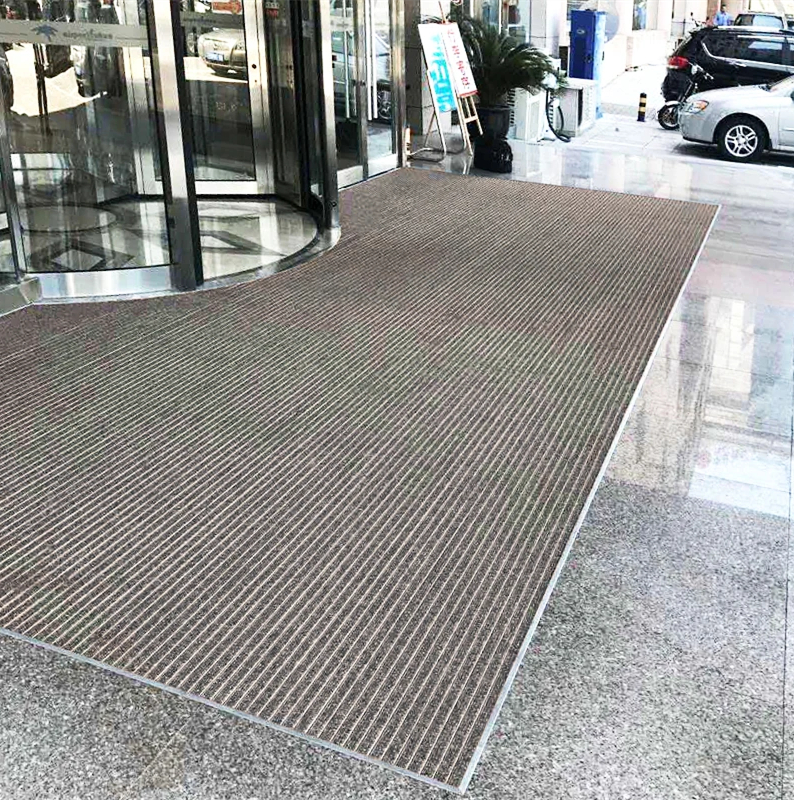
The Safety Benefits Of Aluminum Entrance Matting
Entrance matting promots safety and health, the key aspects include preventing slips and falls, minimizing dirt and contaminants and enhancing air quality.
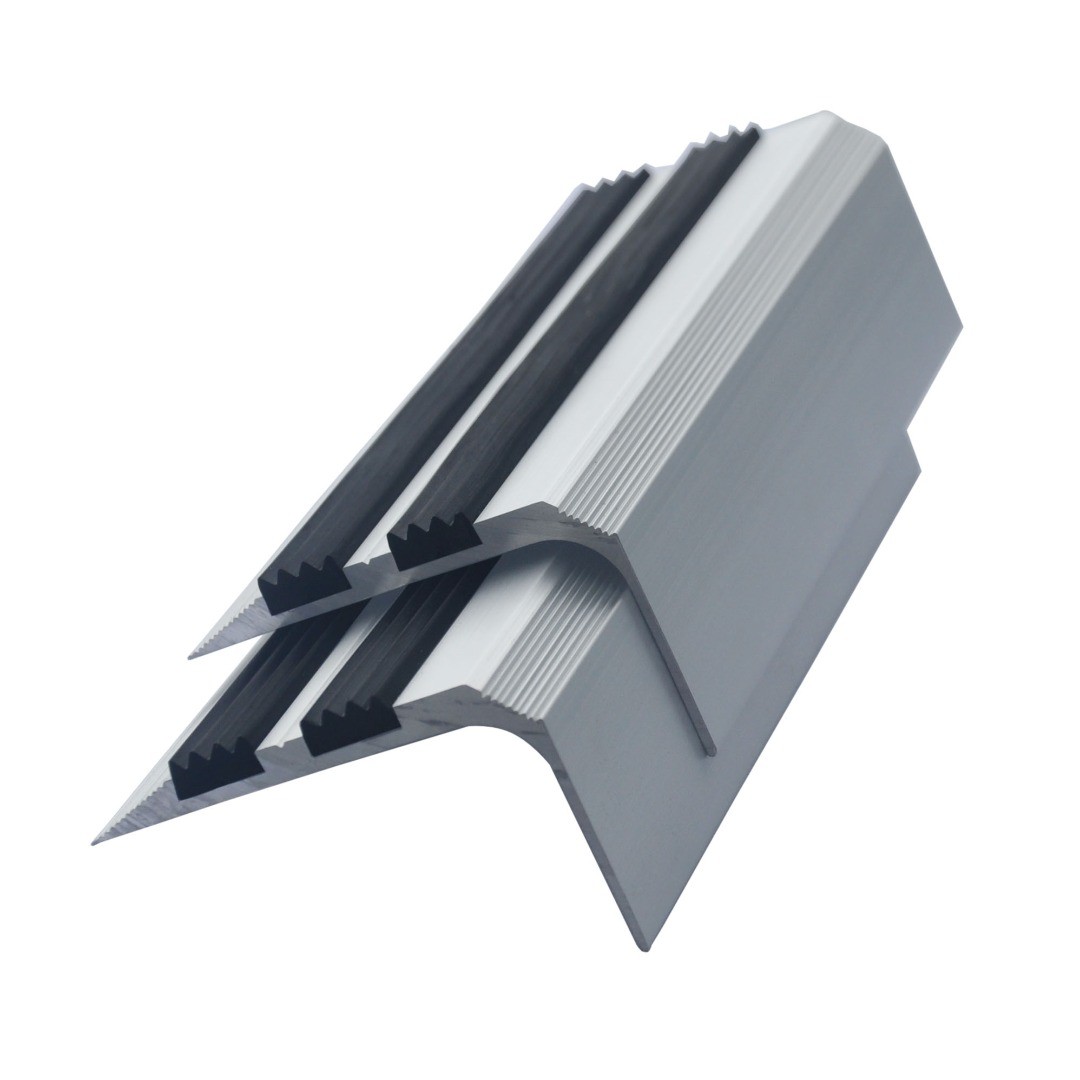
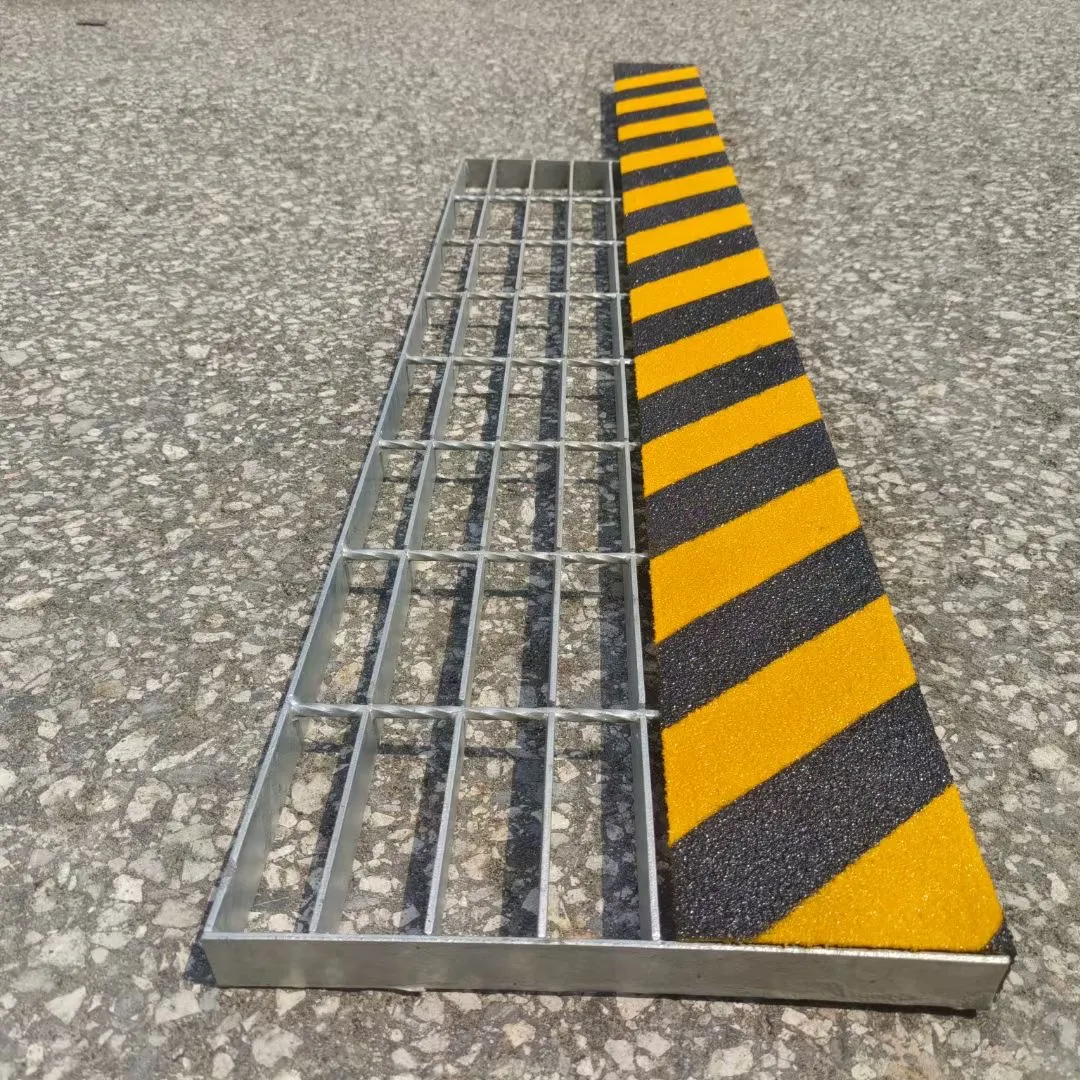
Aluminum Stair Nosings with Rubber Insert Over Other Materials
Aluminum Stair Nosings with Rubber Insert Over Other Materials: Discover why aluminum stair nosings with rubber compared to steel, wood, and other alternatives.