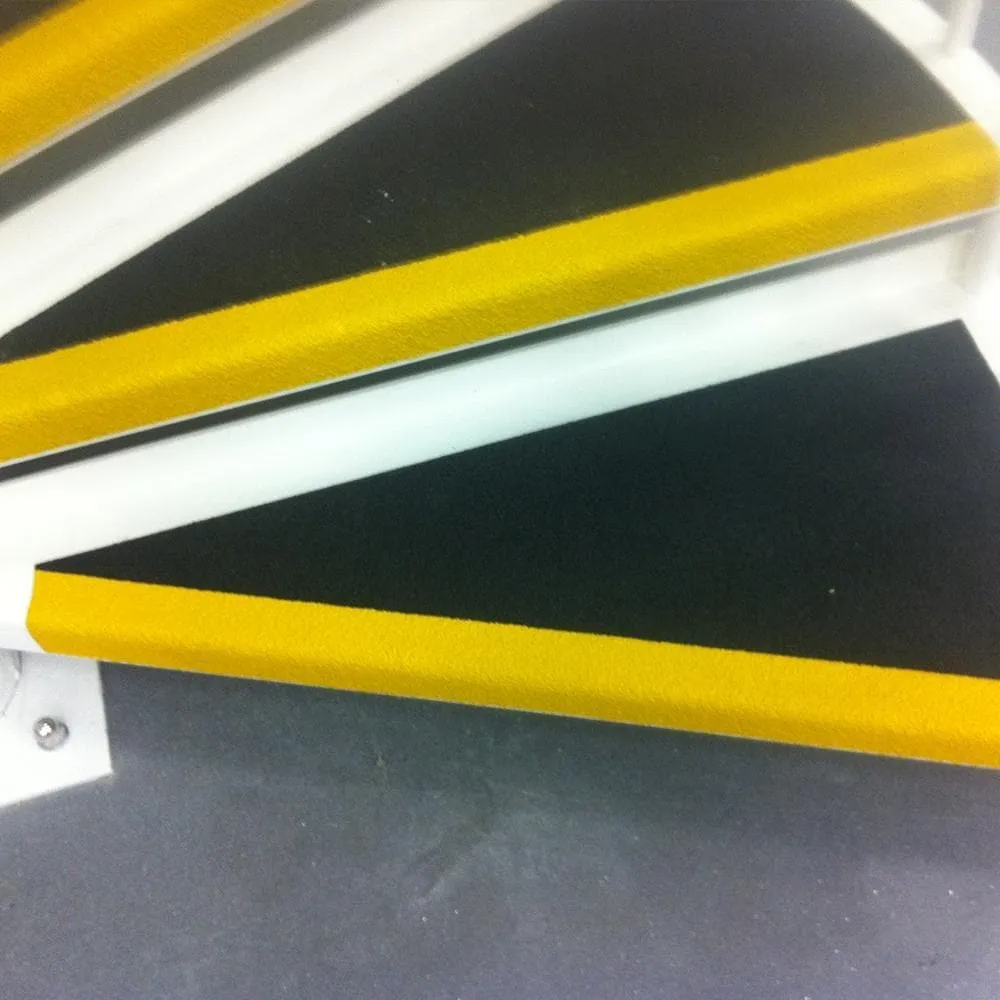
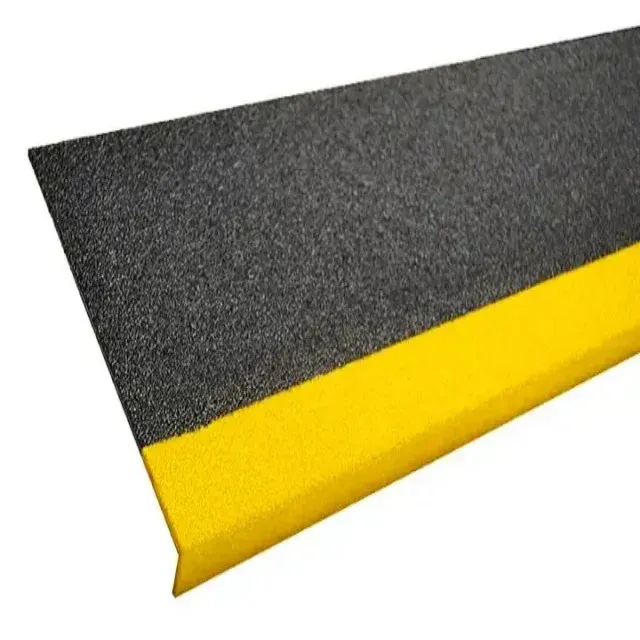
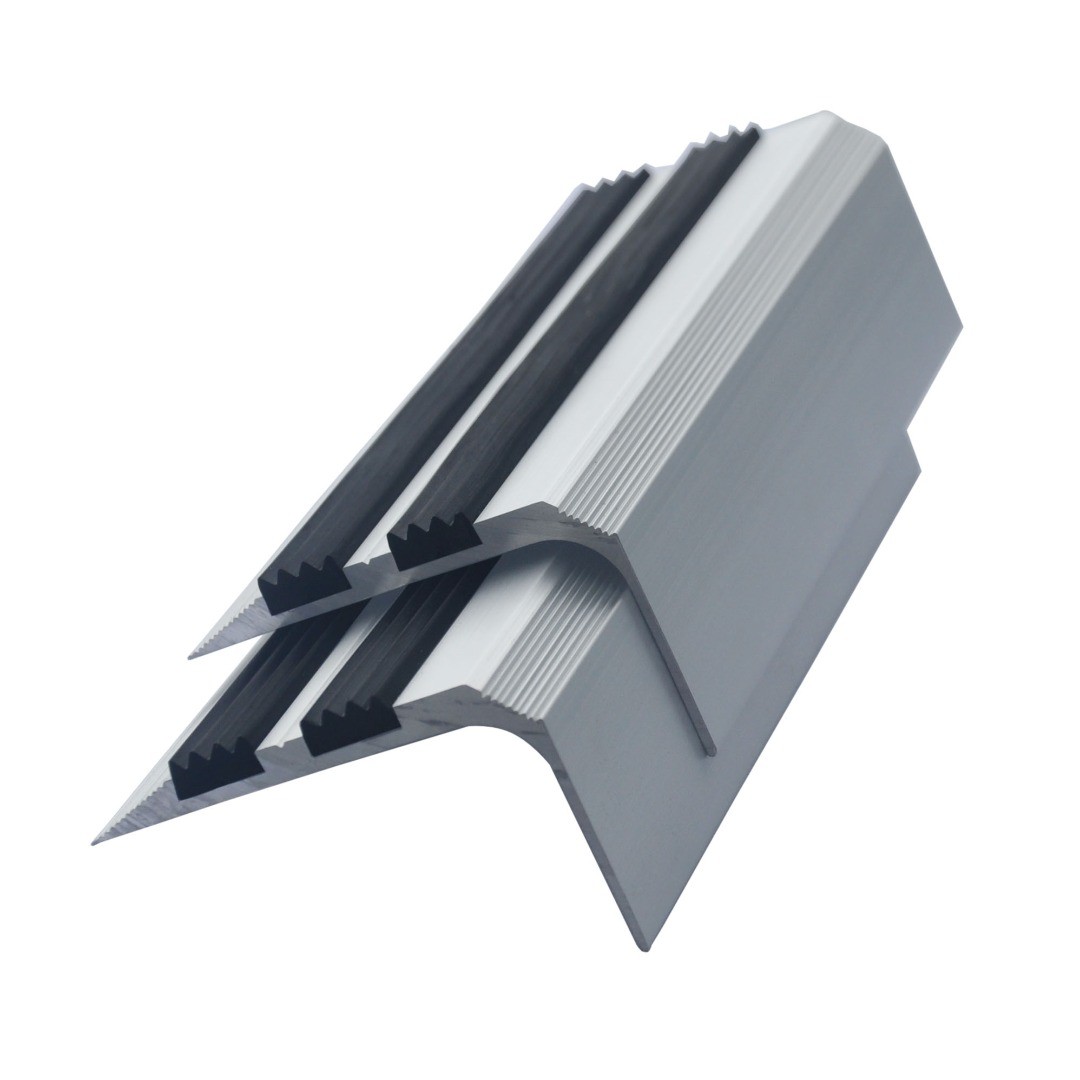
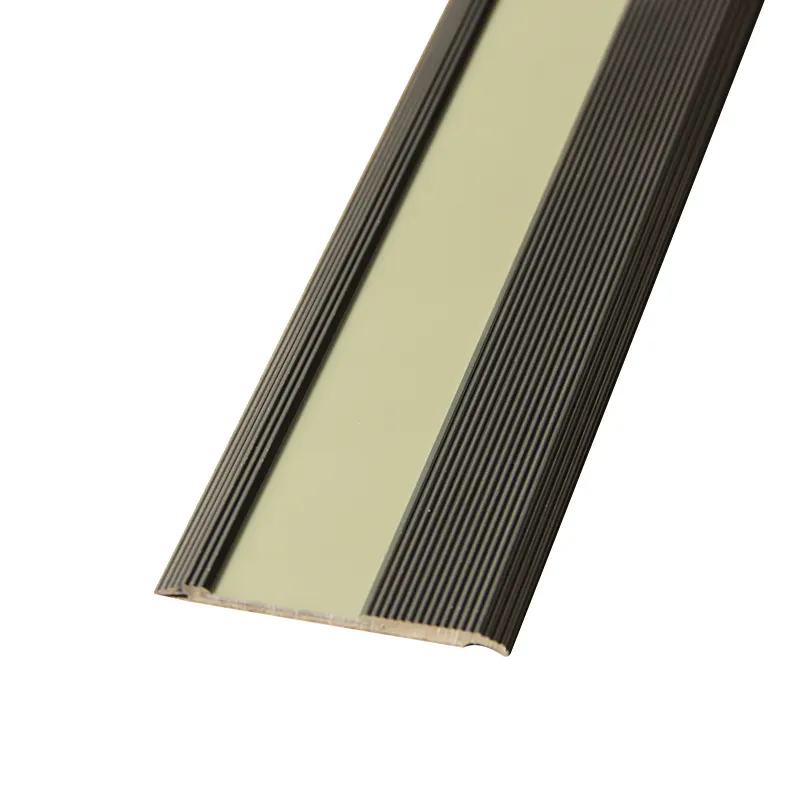
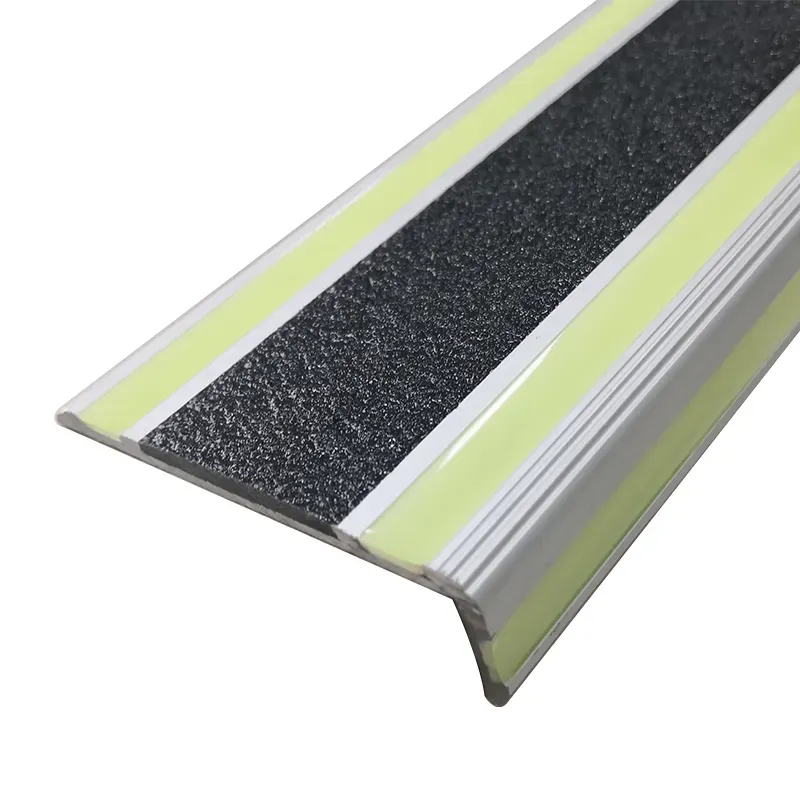
The Latest Trends in Stair Tread Materials and Colors
Discover the latest trends in Stair Tread Materials and Colors. Explore how custom stair nosings can transform your staircase into a stunning focal point.

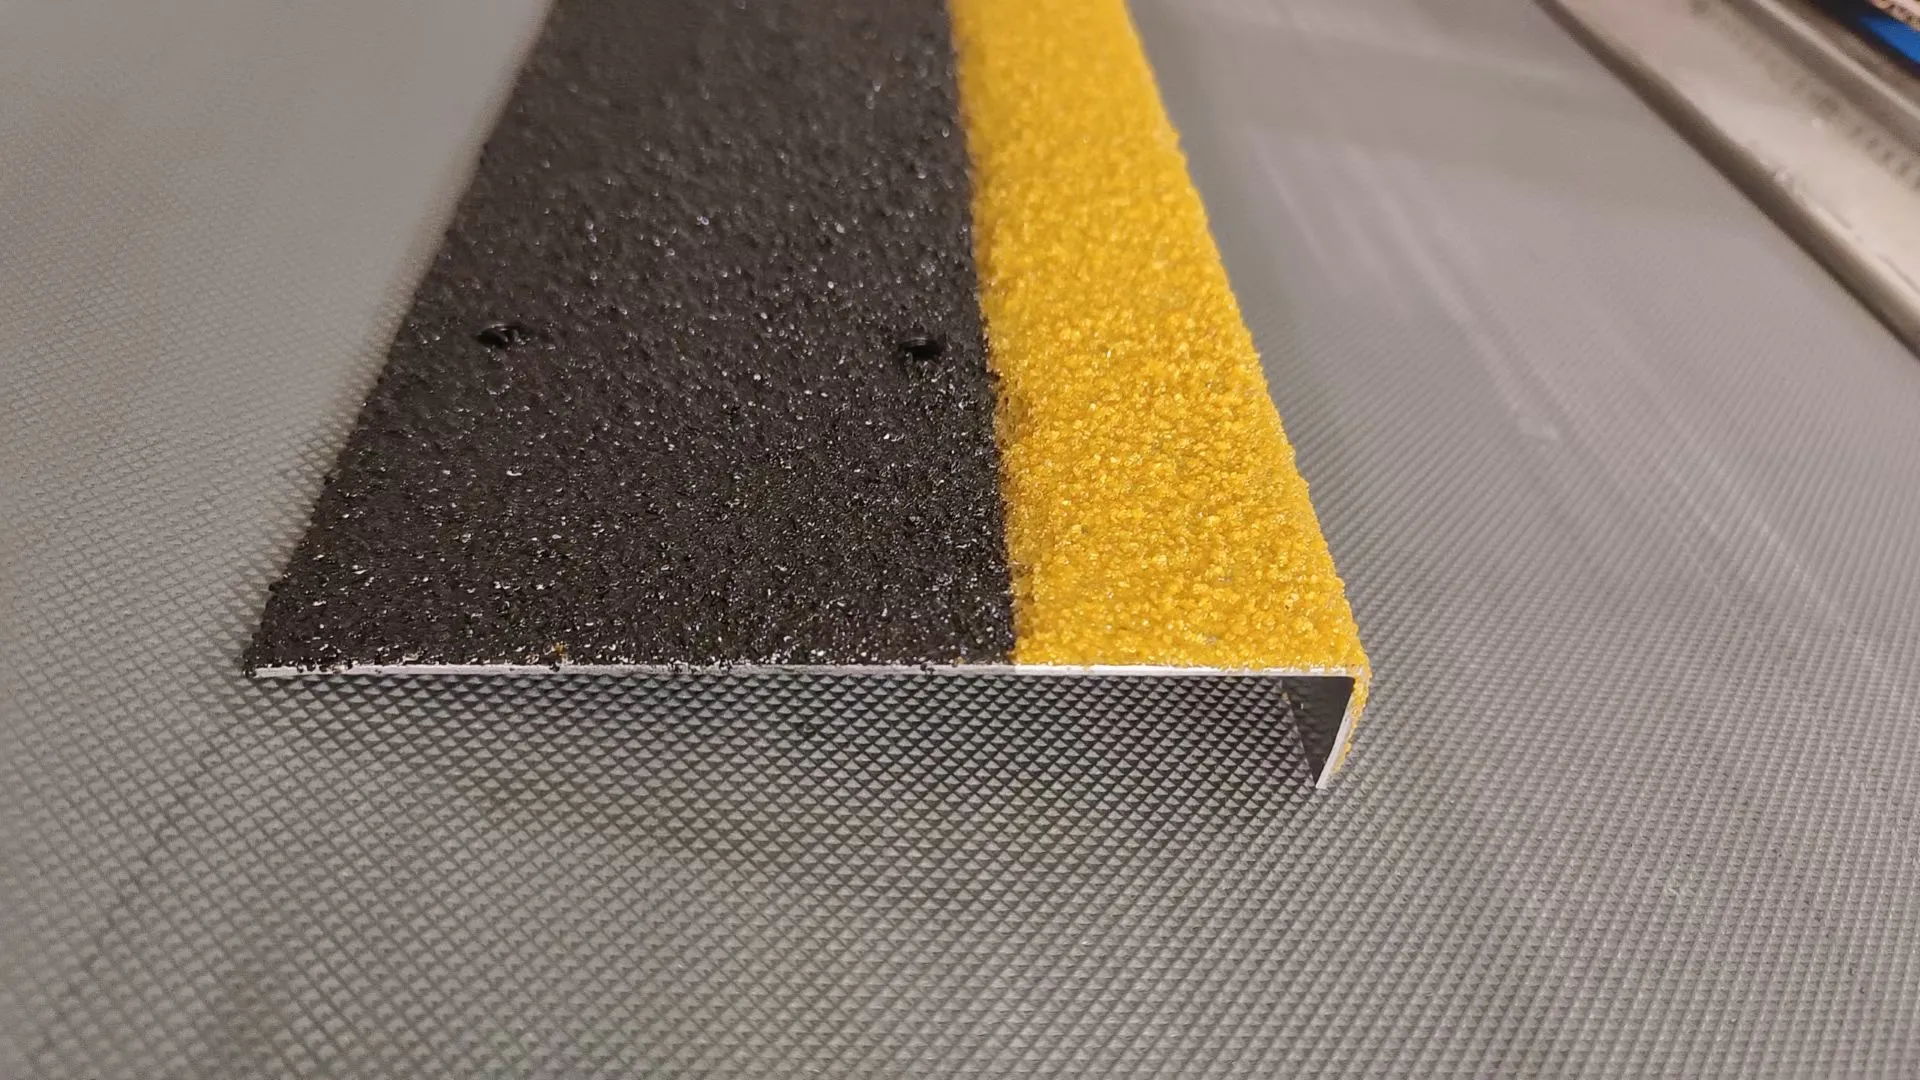
Anti-Slip Tape in Maritime and Offshore Industries
Anti-Slip Tape in Maritime and Offshore Industries, enhancing worker safety, preventing accidents, and improving efficiency in demanding environments.
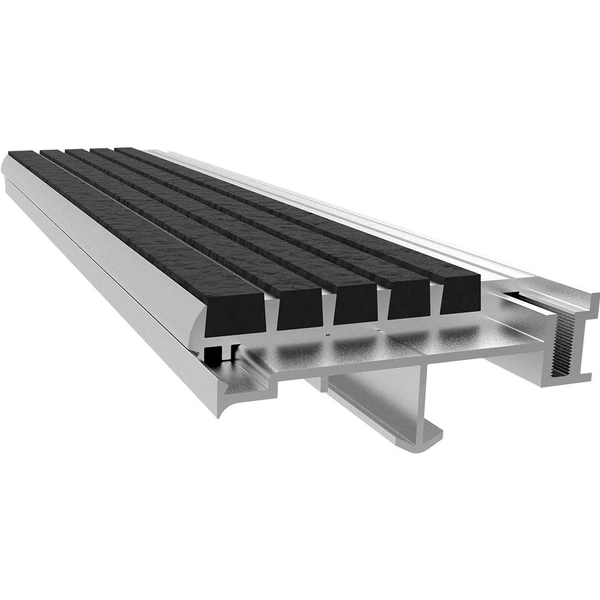
The Complete Guide to Decking Strips: Types, Installation, and Care
The Complete Guide to Decking Strips: Types, Installation, and Care