
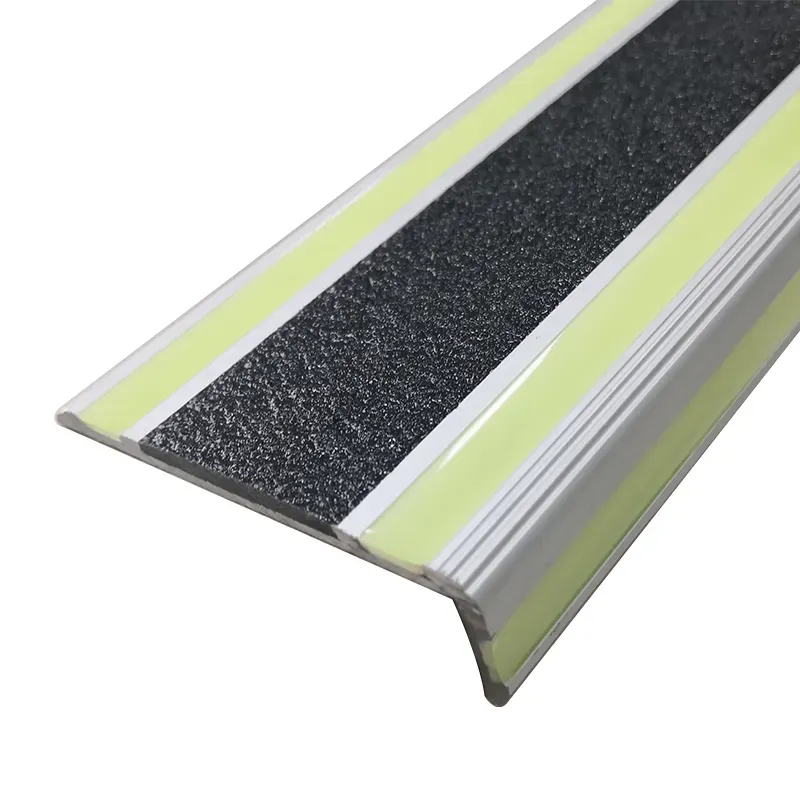
Lighted Stair Nosing: Temporary vs. Long-Term Solutions
If you’re looking for a way to illuminate your stairs, there are several options available. This guide will help you understand the differences between temporary and long-term lighted stair nosing solutions.
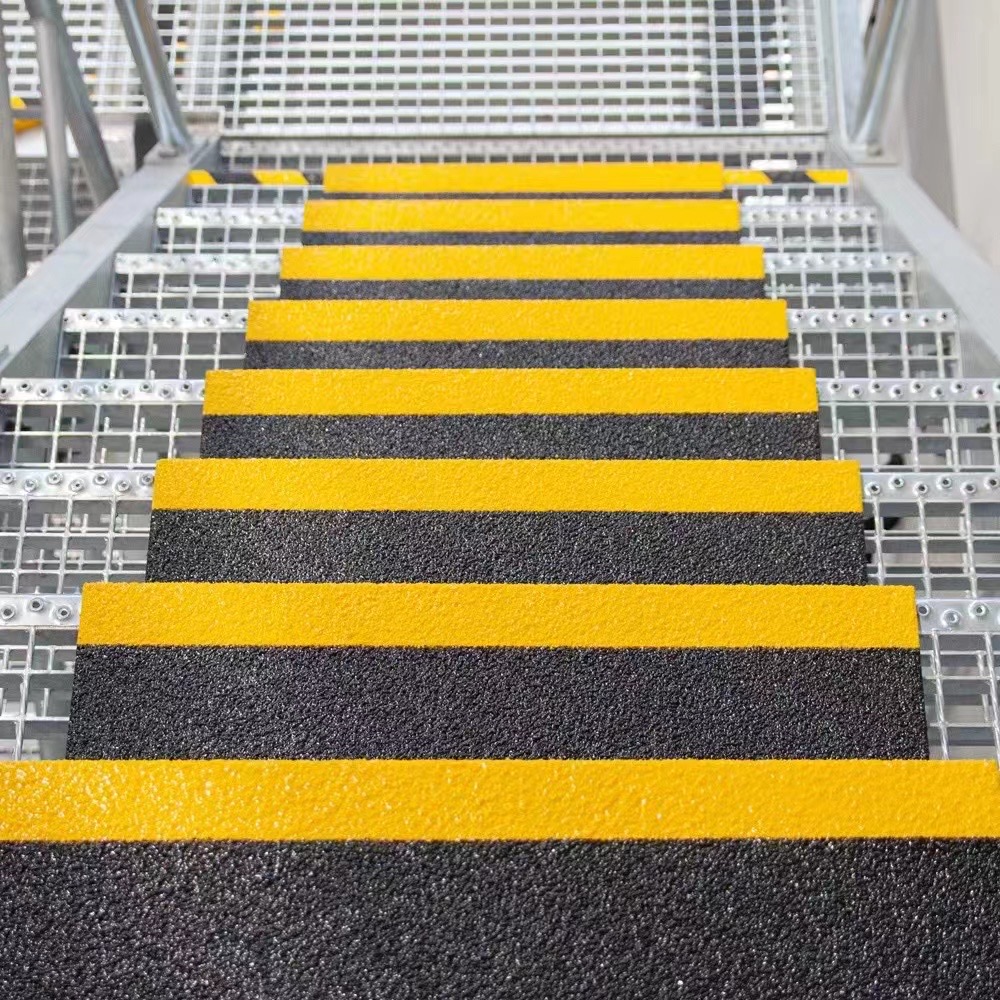
The Product Overview of Anti-slip Fiberglass Stair Treads
Anti-slip Fiberglass Stair Treads enhance safety and aesthetics for outdoor stairs, making them ideal to mitigate the risk of slips, trips, and falls.
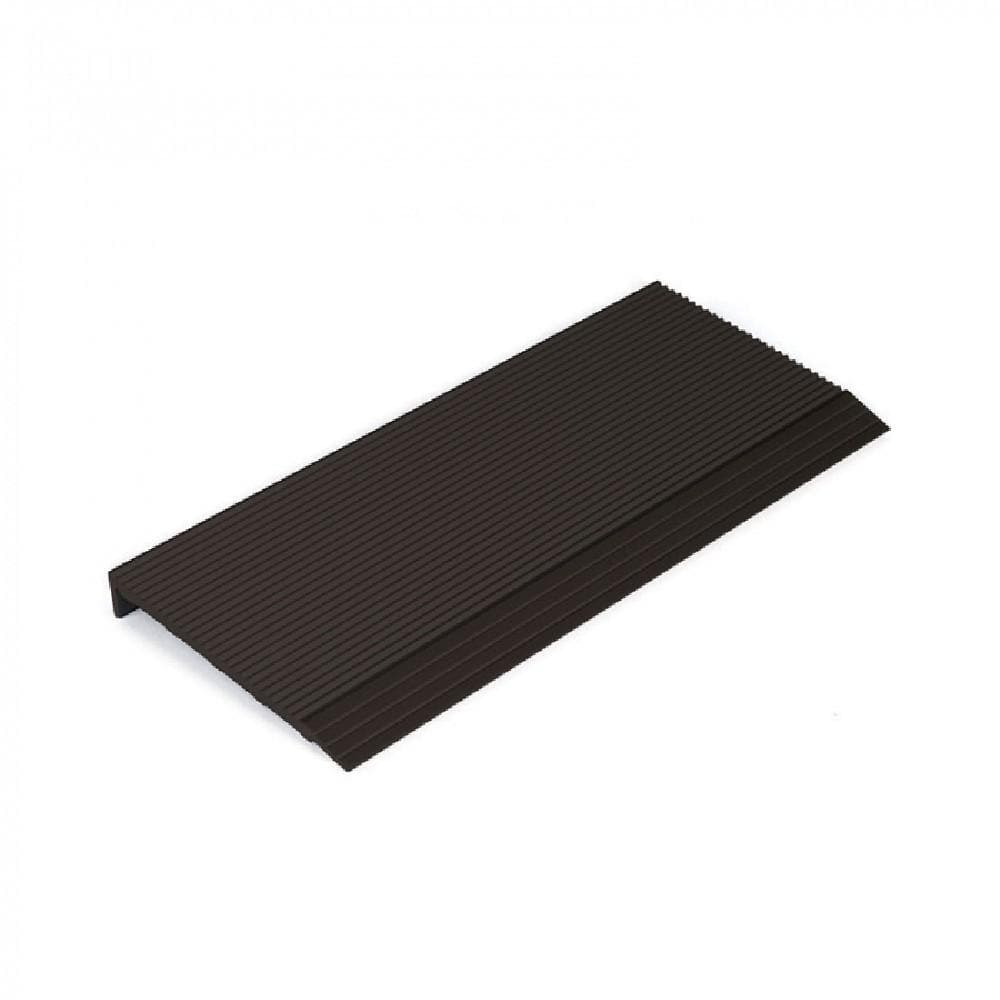
How to Prevent Staircase Accidents and Improve Home Safety
Staircases are one of the most common places for accidents at home, especially for young children and older family members. Falls and slips can lead to serious injuries, so it’s important to take steps to make your stairs safer.