
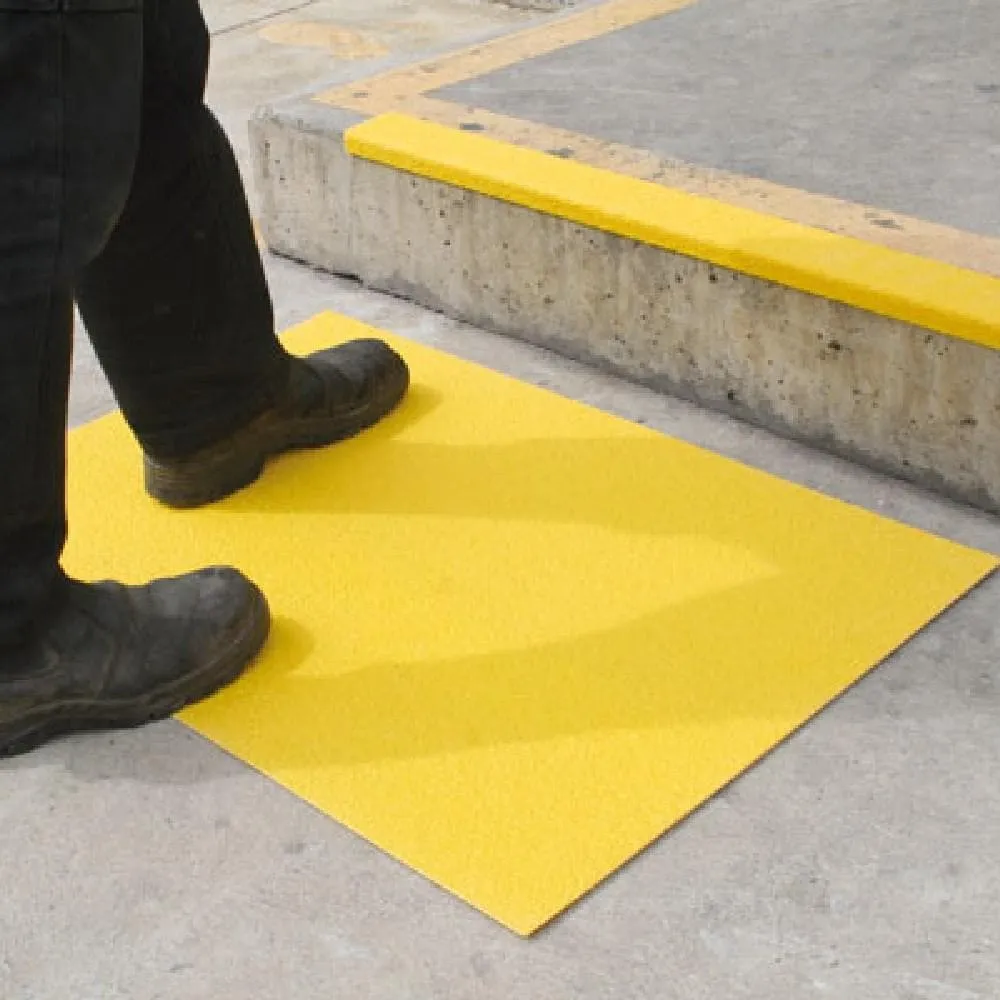
The focus points for Aluminum Entrance Mattings
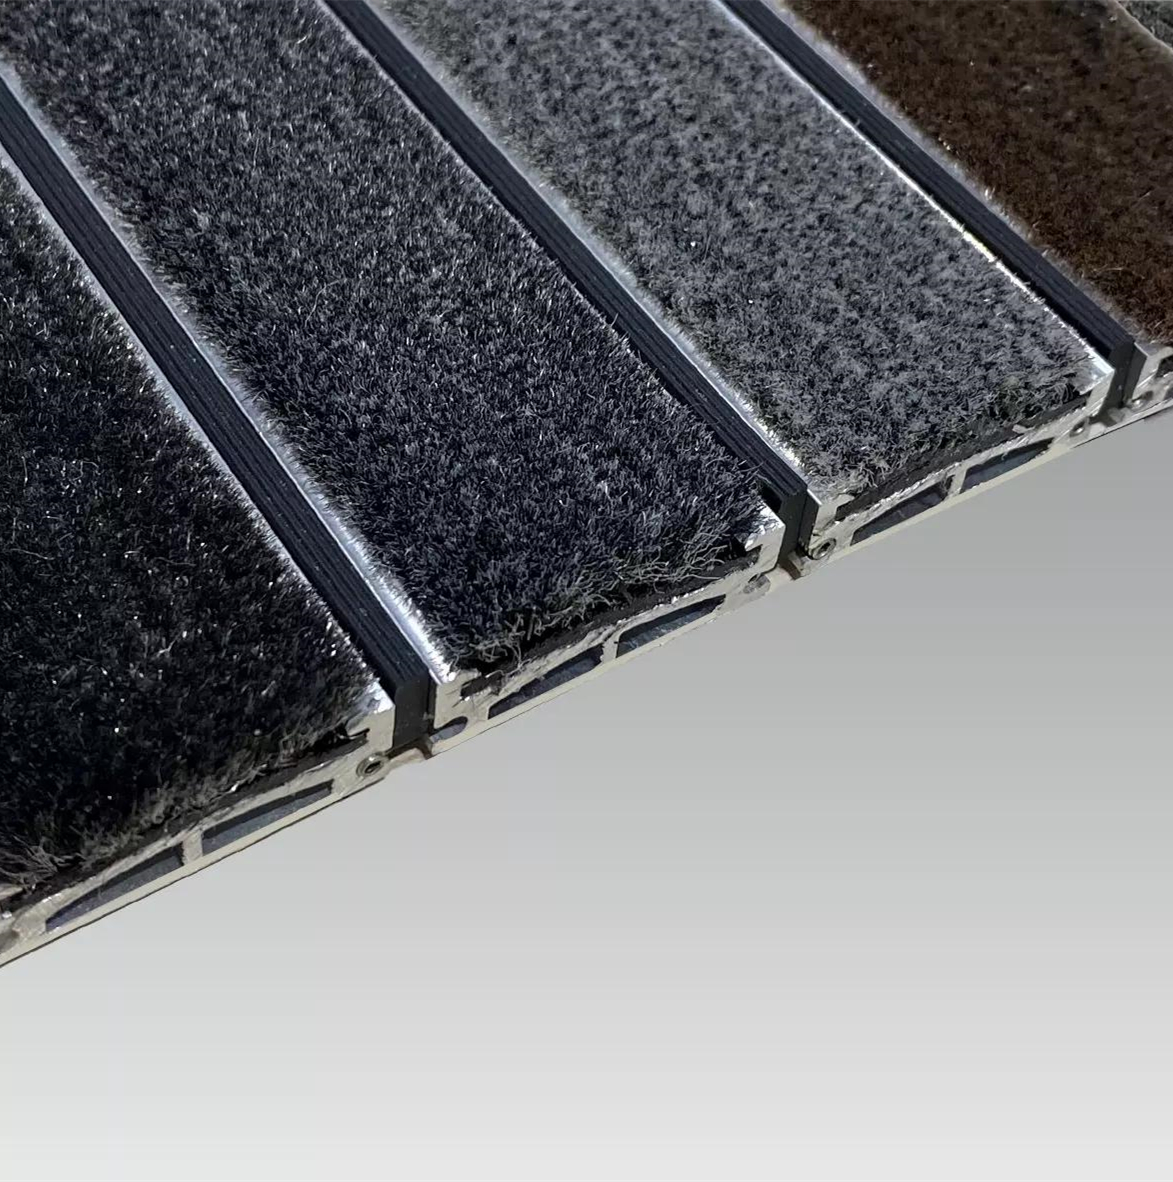
The choice of aluminum entrance mats should be both practical and integrated with environment. Today discuss the points when making aluminum entrance mats.
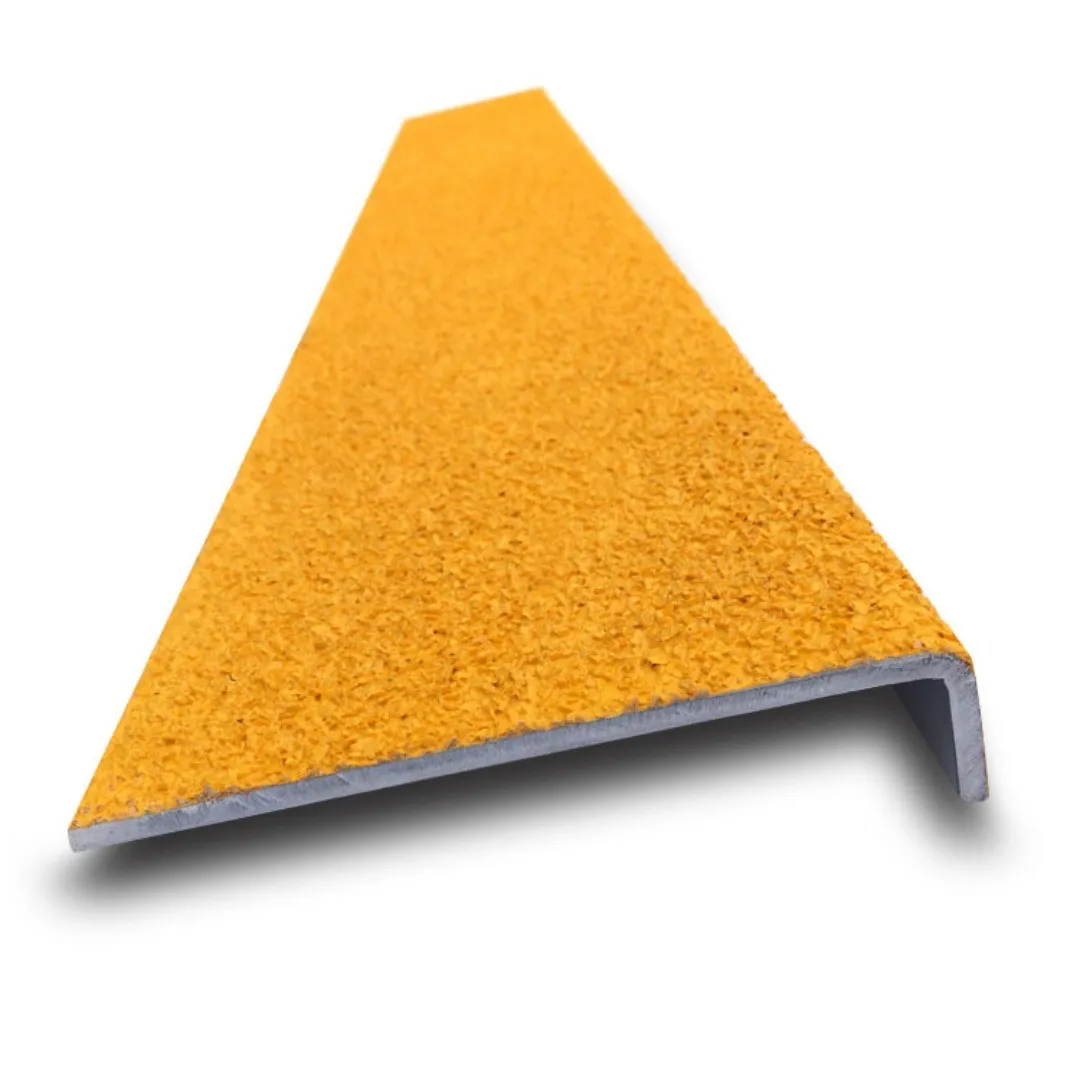
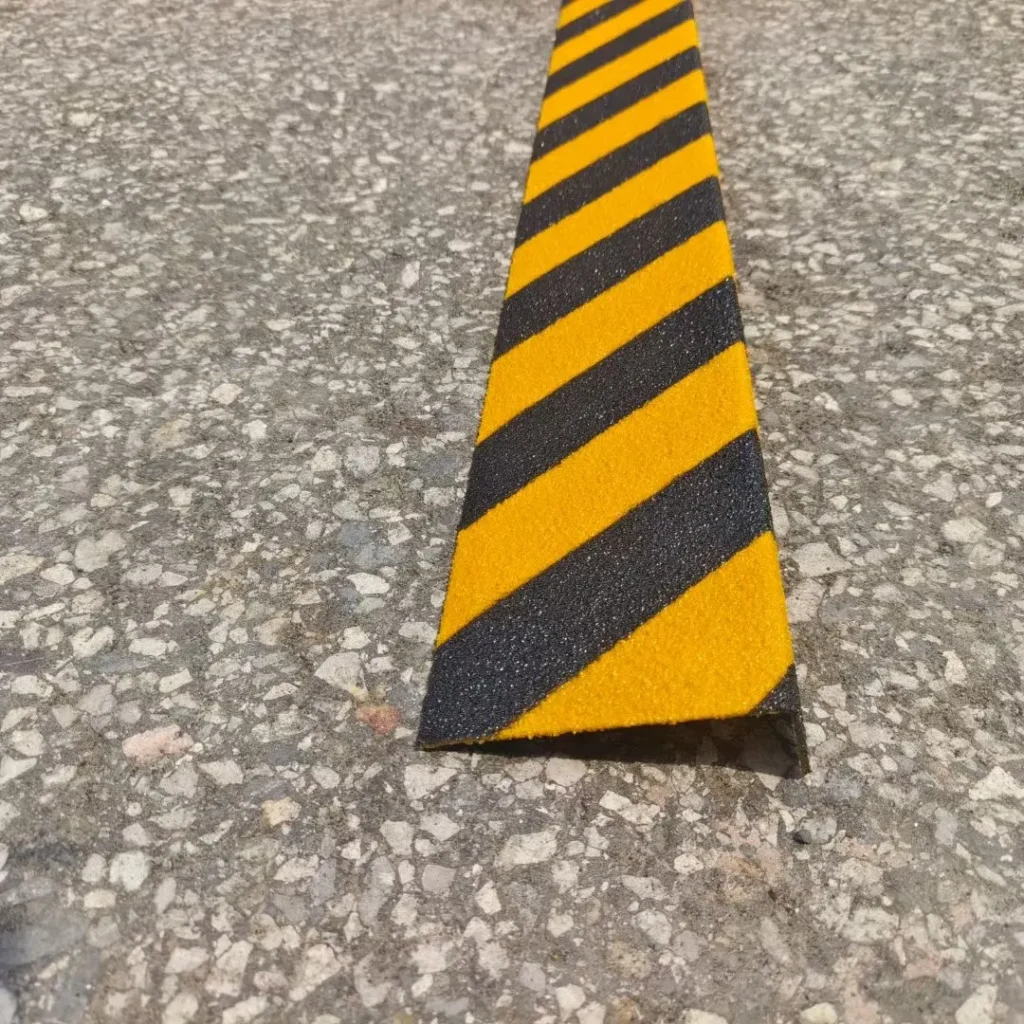
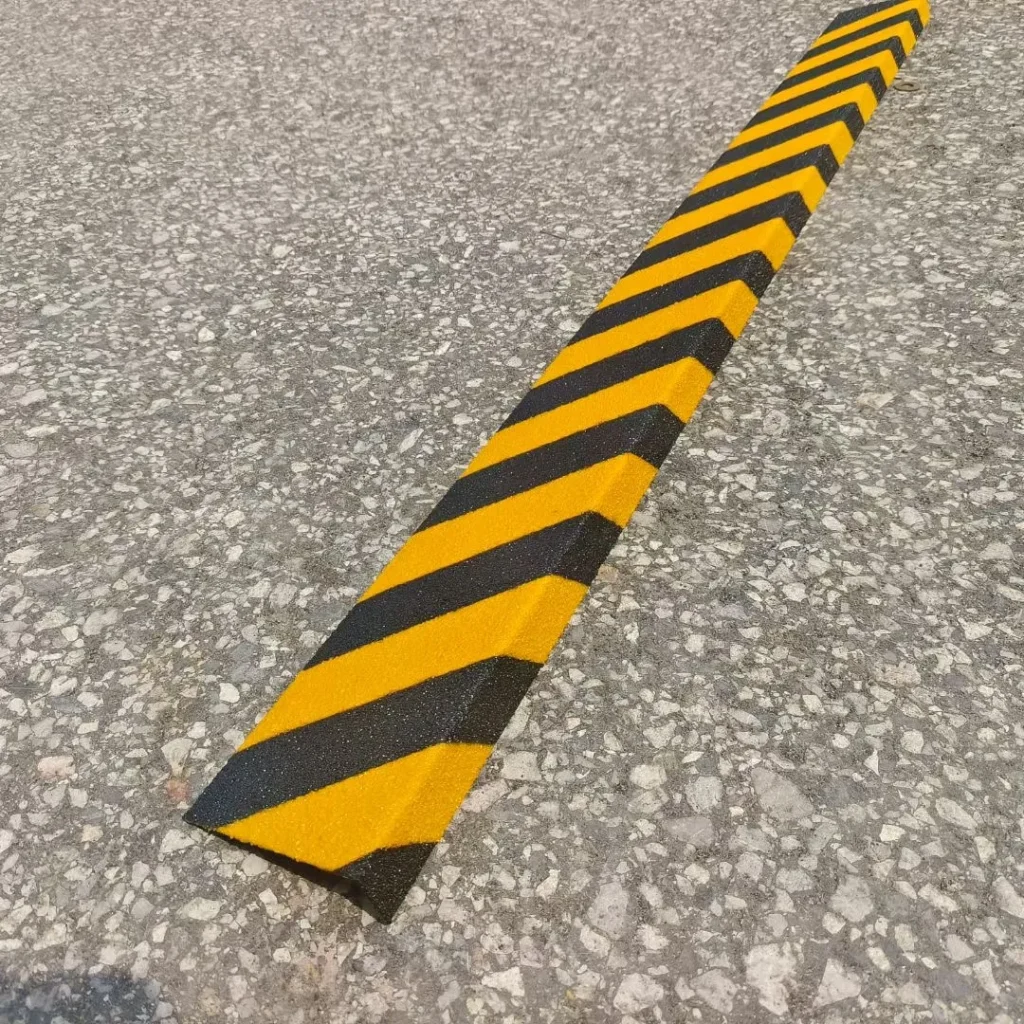
Choose the Right Anti-Slip Metal Strips for Your Needs
Choose the Right Anti-Slip Metal Strips for Your Needs: considering surface type, material, size & shape, texture, and installation process.
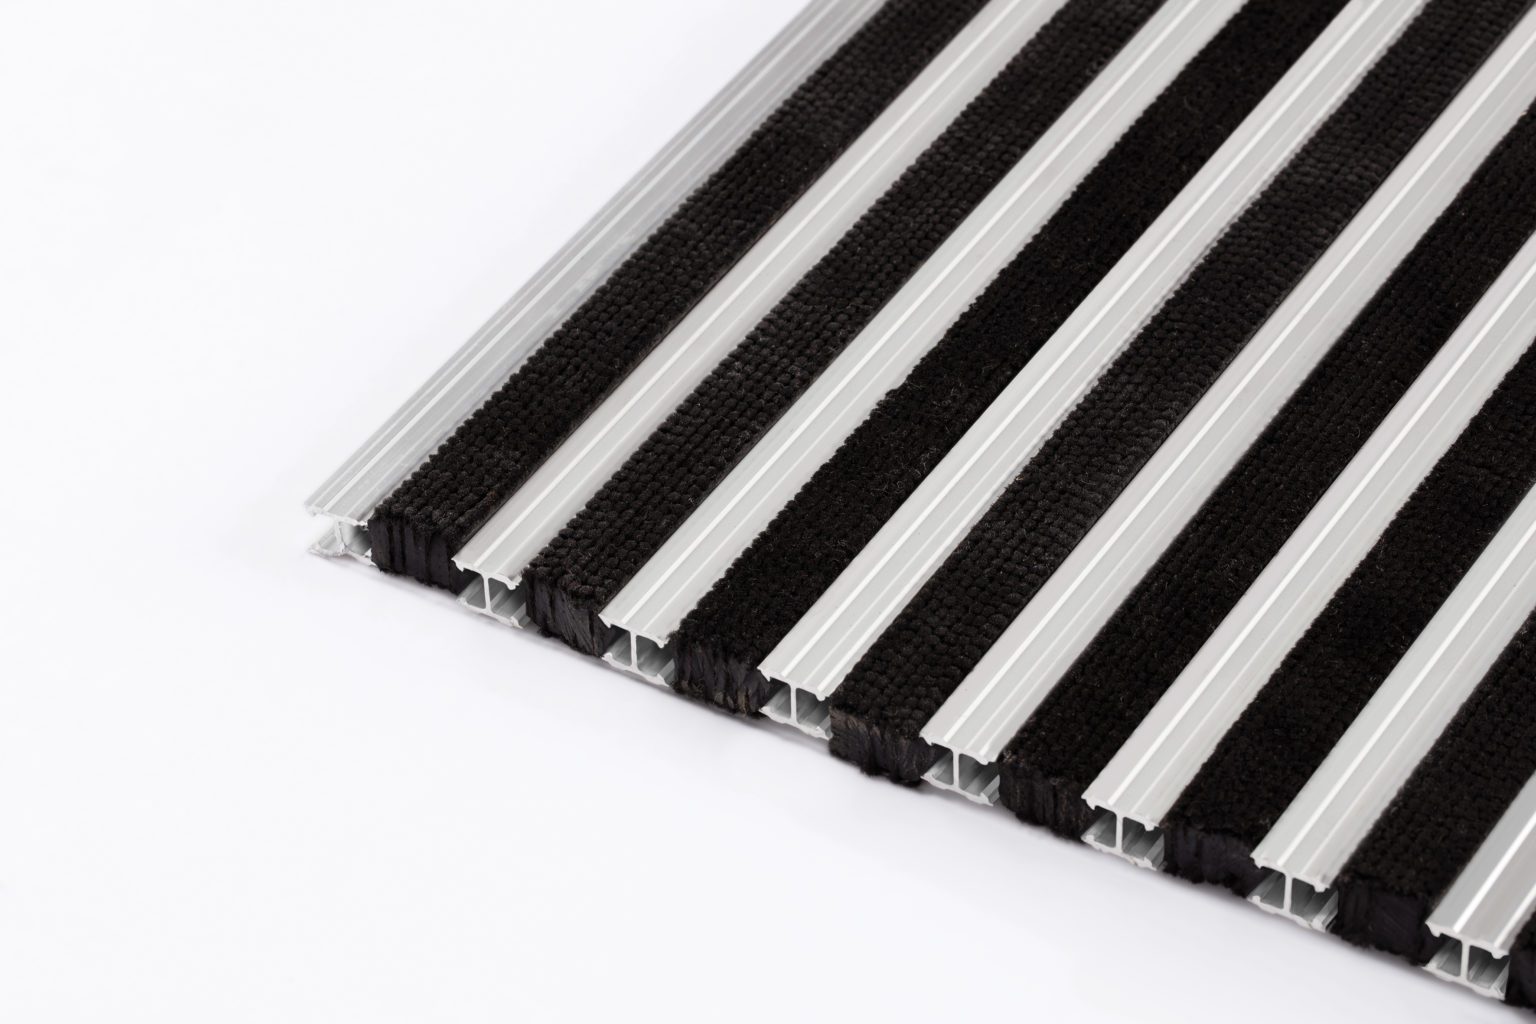
Aluminum Entrance Mattings: New Technologies and Features
Explore the latest innovations in aluminum entrance matting, featuring new materials, designs, smart technology, and sustainable practices. Free samples.