

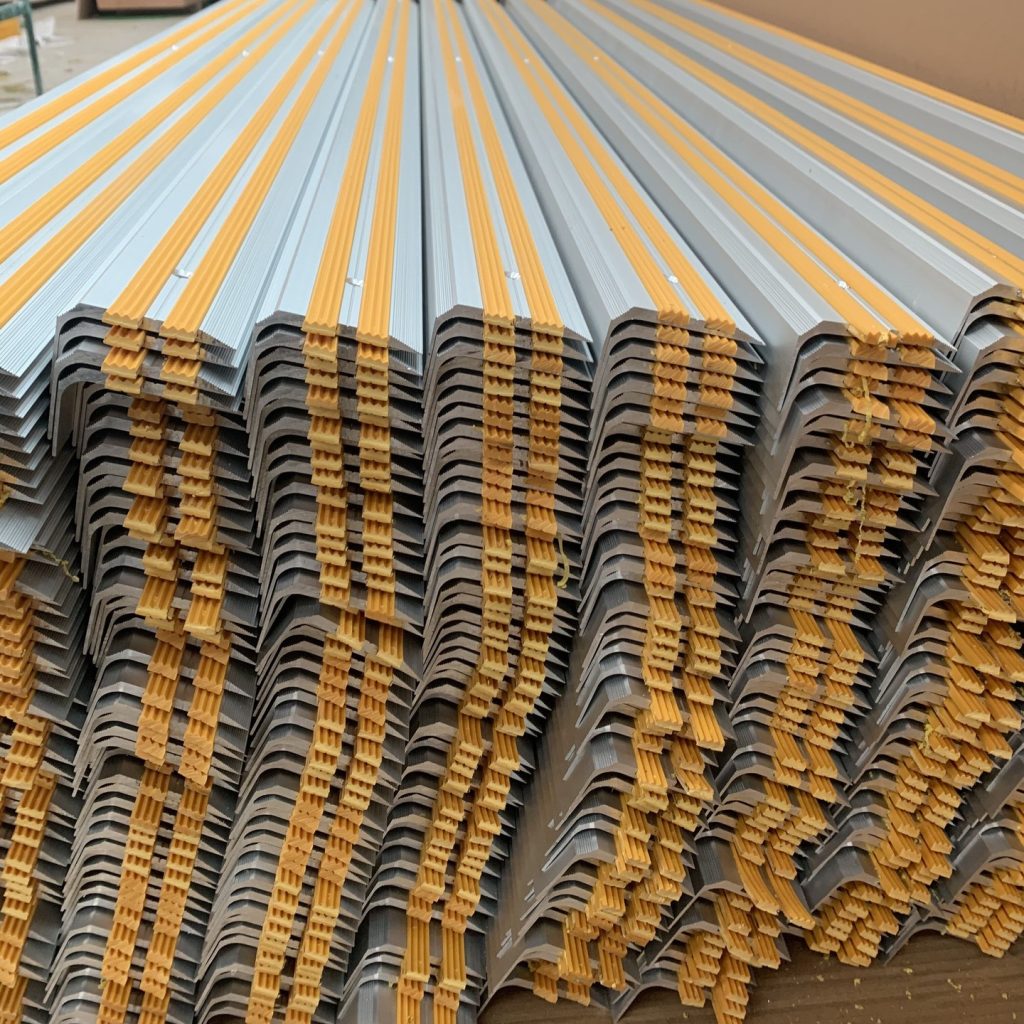
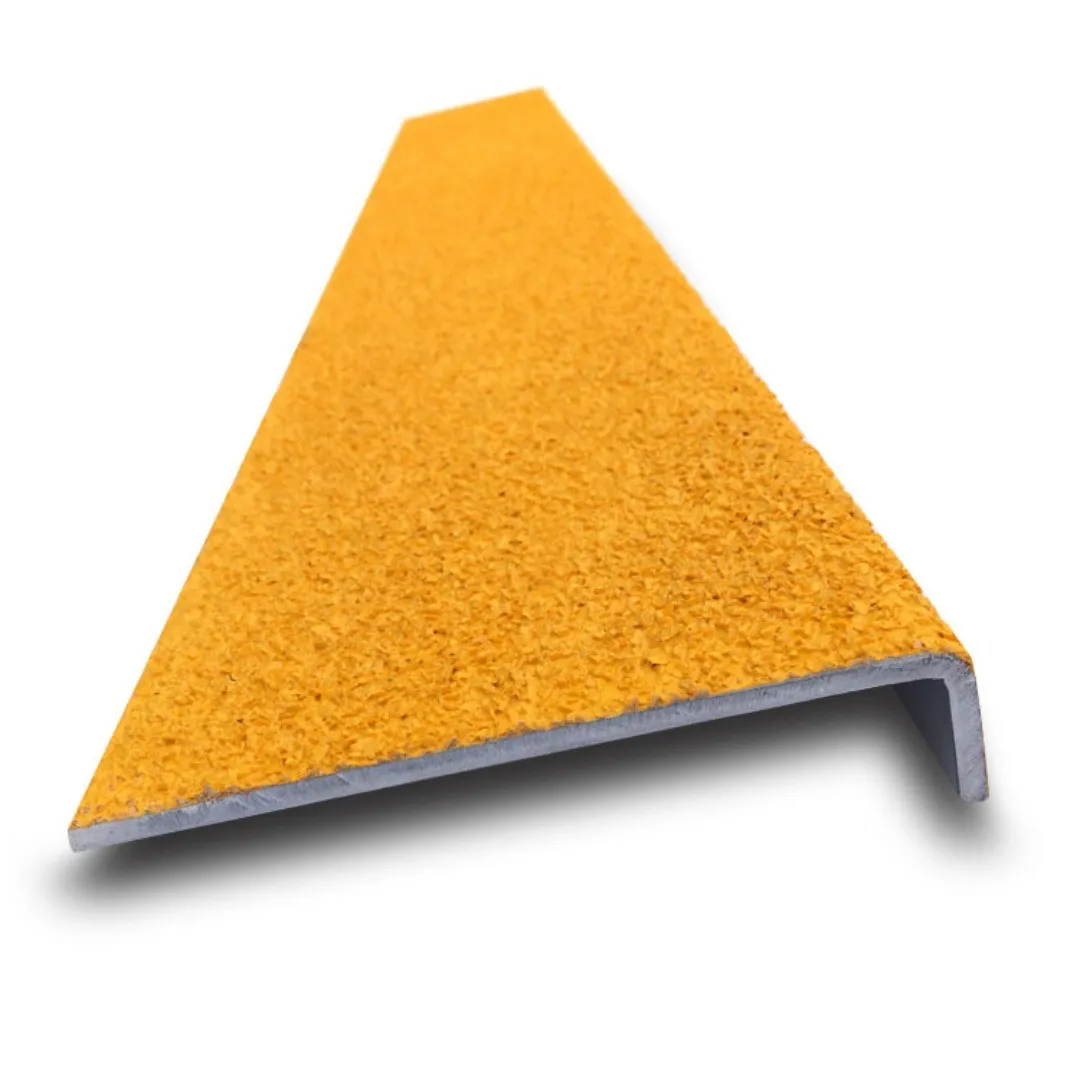
The Environmental Impact of FRP Stair Nosings
The Environmental Impact of FRP Stair Nosings, durability, recyclability, and resistance to chemicals, a green choice for the construction industry.
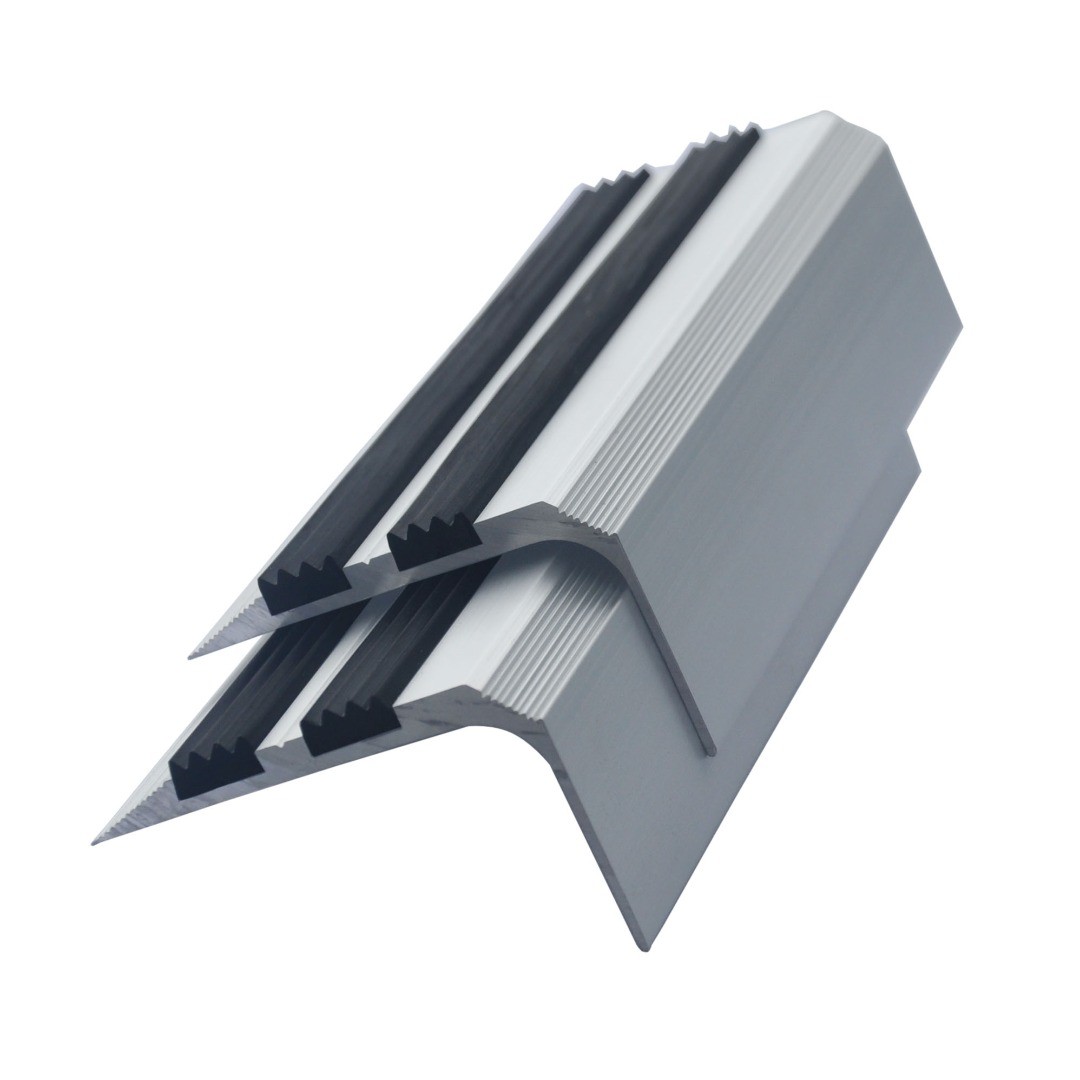
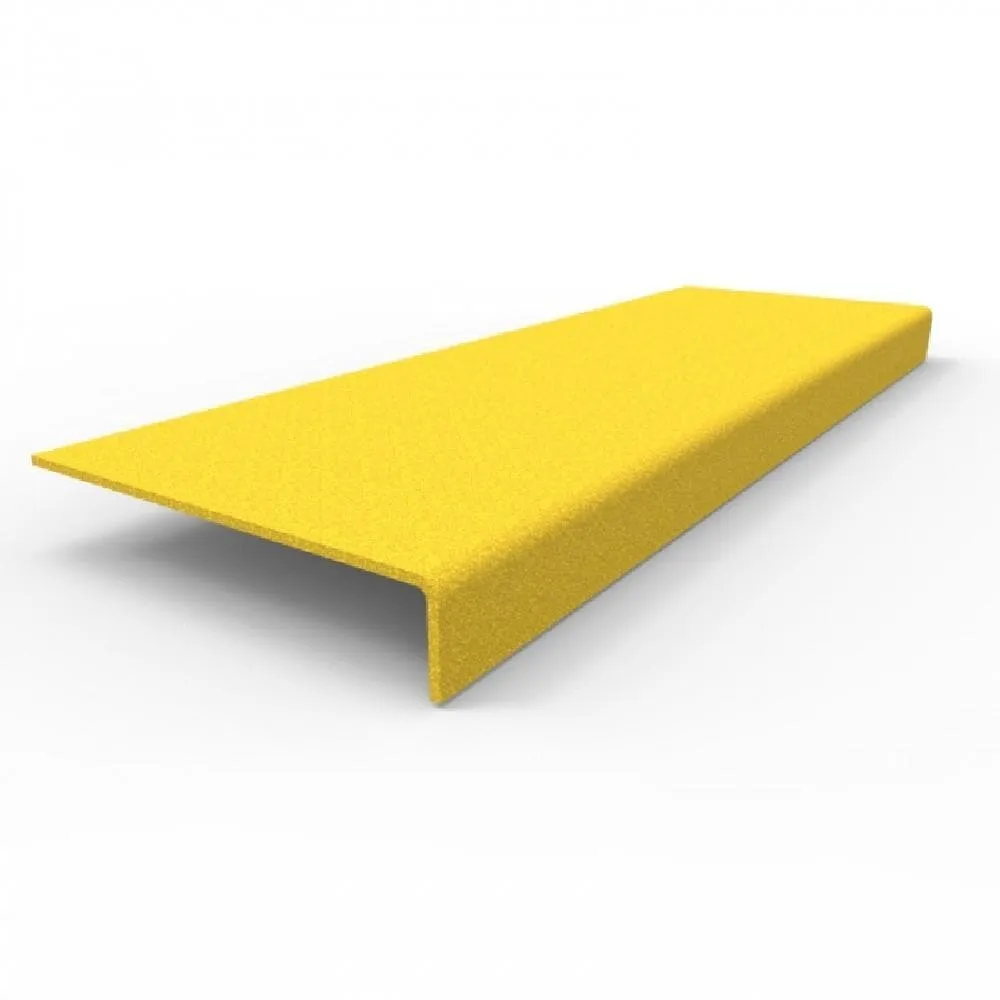
How to Choose the Aluminum Stair Nosing with Rubber Insert
Learn how to choose the right aluminum stair nosing with rubber insert by considering factors like purpose, thickness, width, finish, and installation.
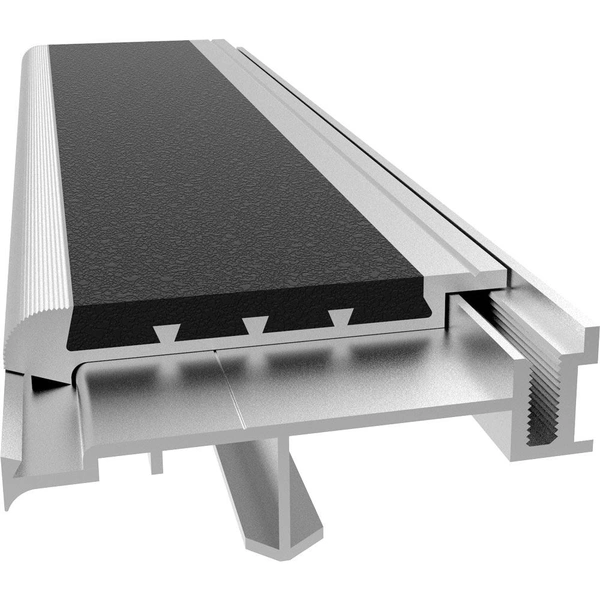
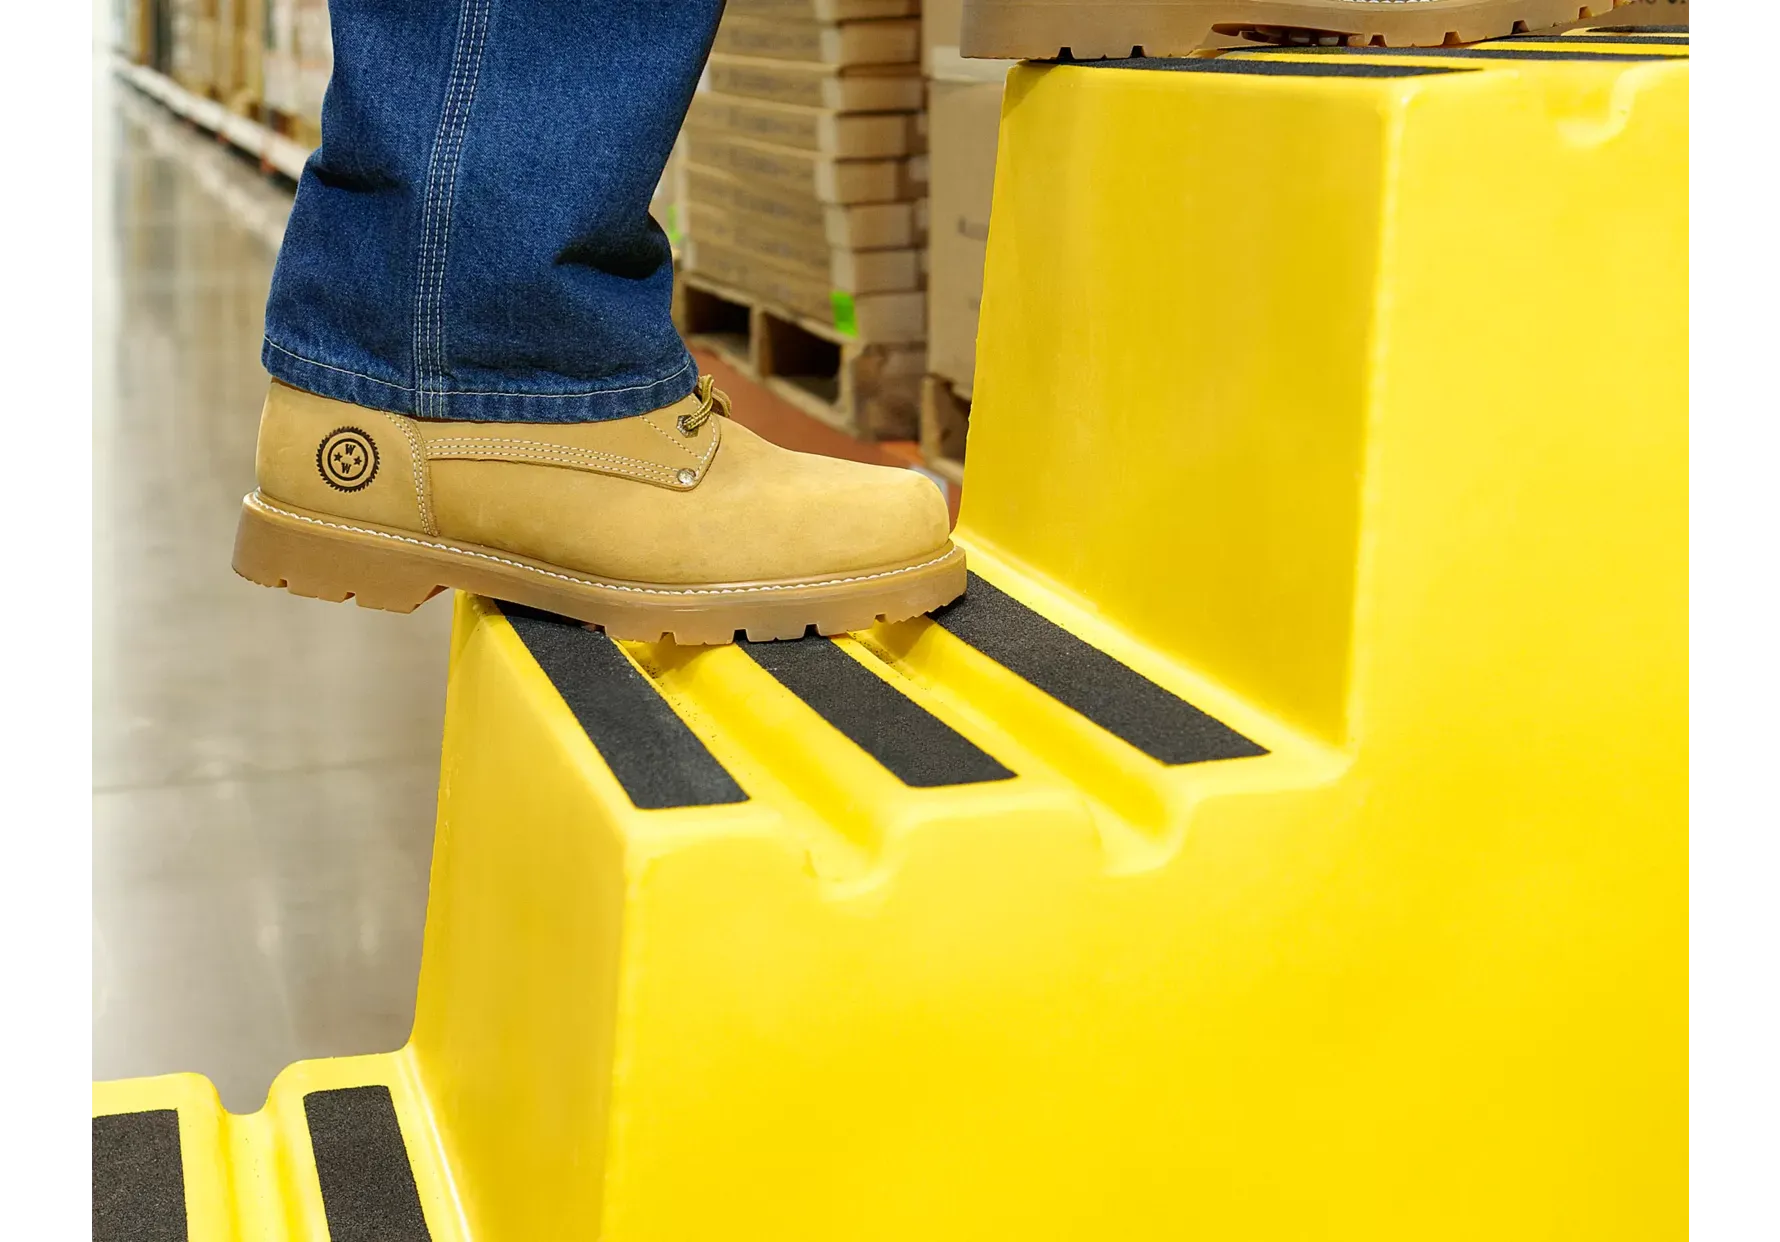
The Importance of Proper Stair Tread Installation
Learn the importance of proper stair tread installation and the benefits of custom two-part treads for safety, functional and aesthetic appeal in any staircase.