


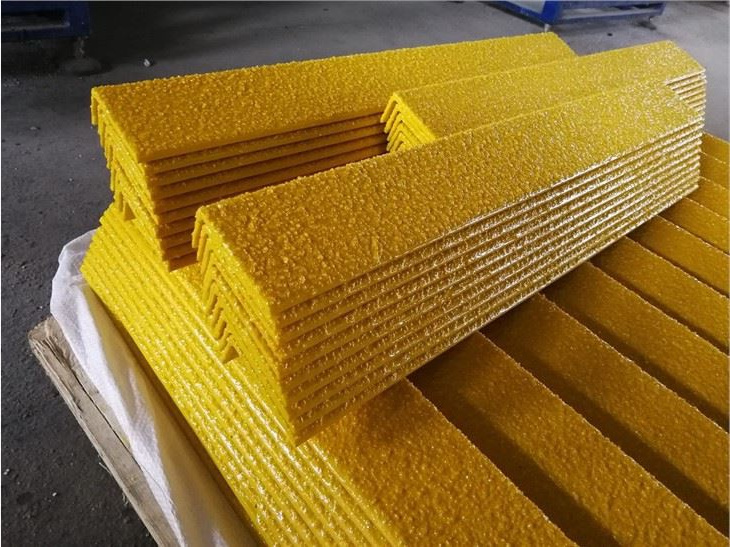
Why Choose Us as Your FRP Stair Tread Cover Partner?
As a supplier of anti-slip stair tread protrusions, we have professional experience and have long provided products and knowledge to wholesales.
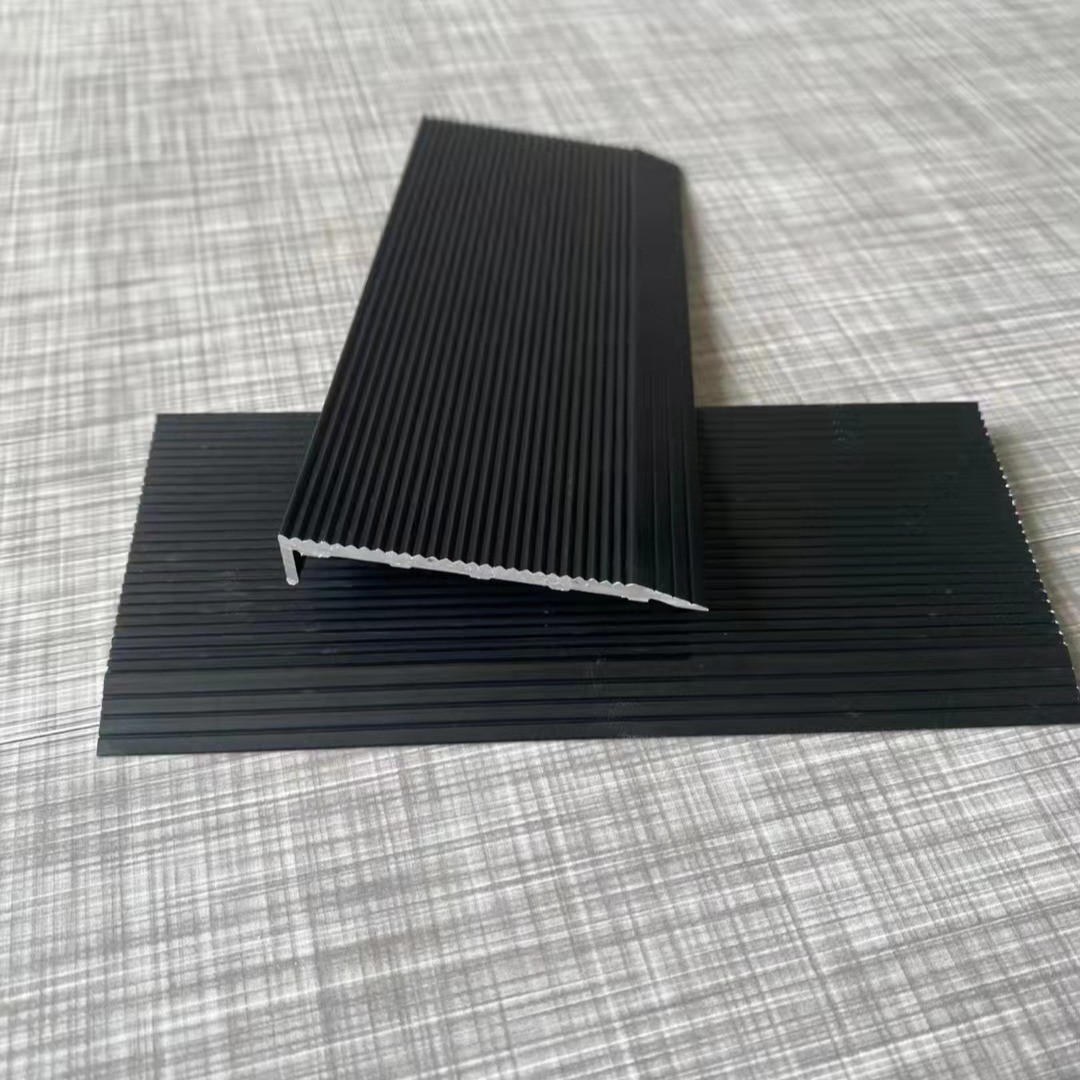
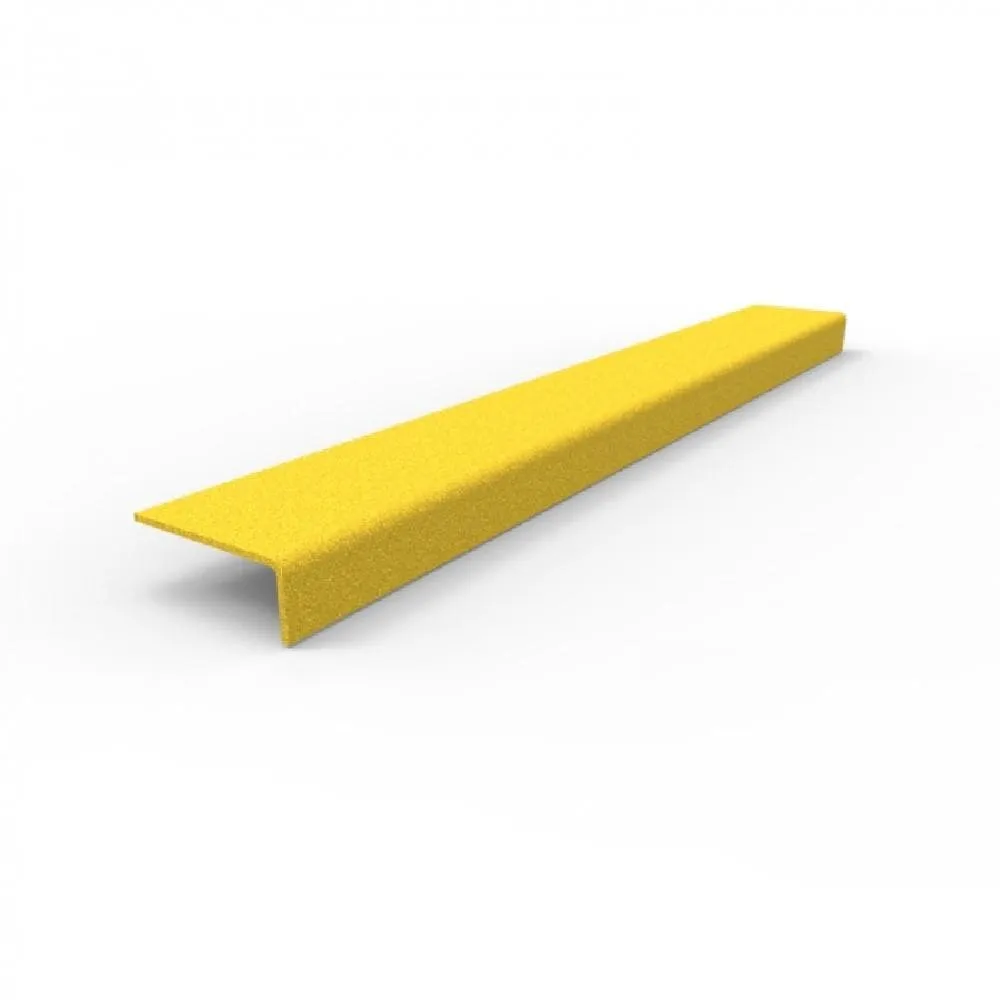
How to Identify and Fix Stair Nosing Problems
Stair nosings are essential in construction and renovation projects. They reinforce the edges of steps and improve visibility, making stairs safer and more durable. By defining the step edges, stair nosings protect against wear and tear, especially in high-traffic areas. They help prevent accidents by providing better traction and marking the edge of each step.
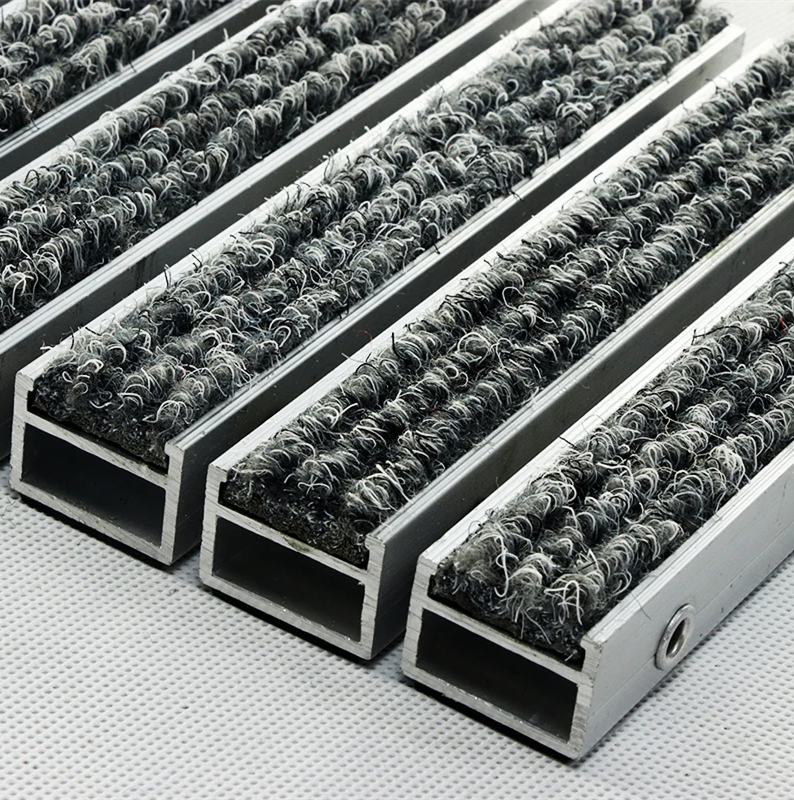
Why Are Aluminum Mats Becoming More Common?
The widespread adoption of aluminum entrance mattings can be traced through key milestones and developments that highlight advantages and design advancements.